Transform Your Backyard with a Stunning DIY Putting Green for Ultimate Golf Practice
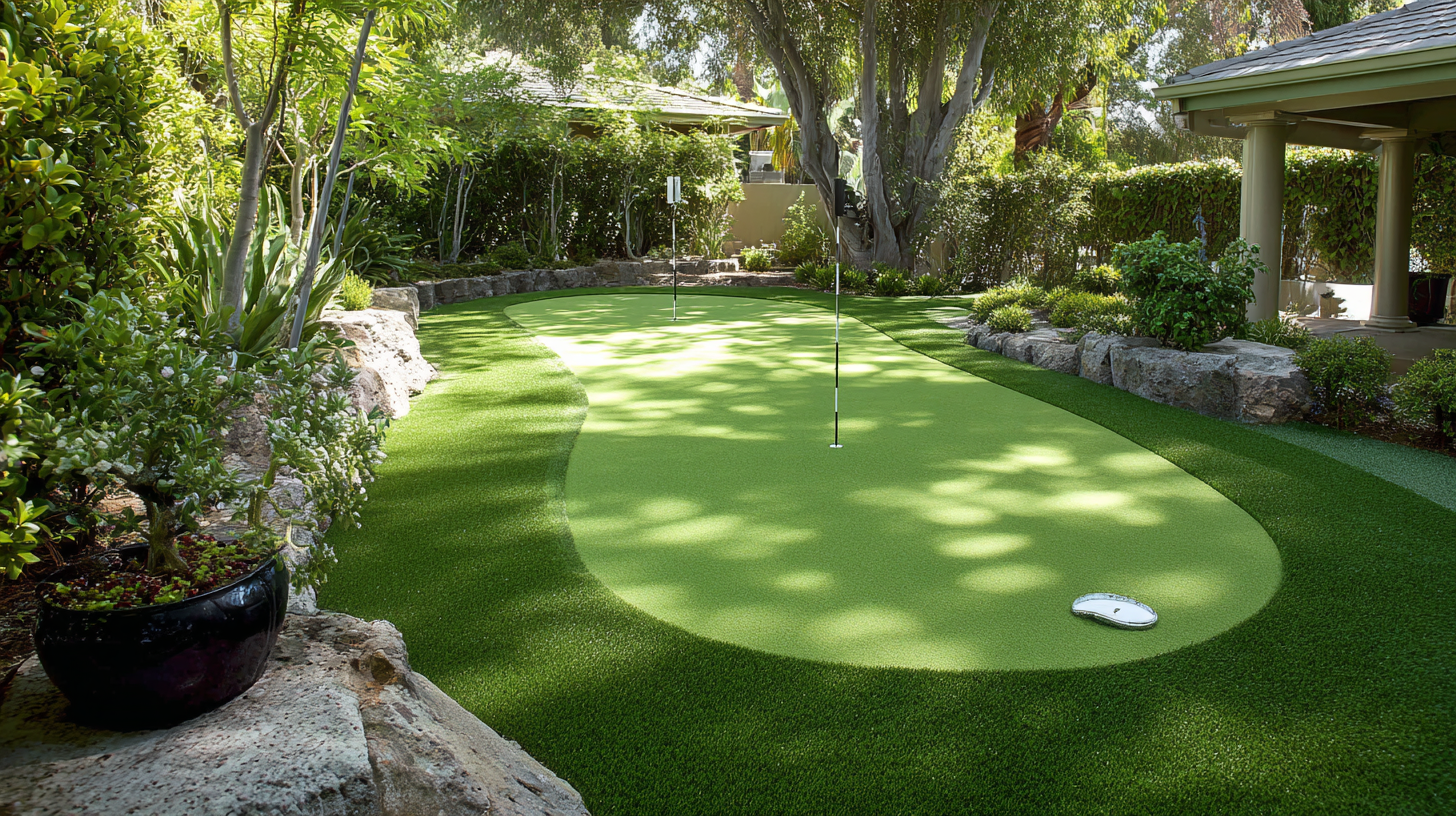
Transforming your backyard into a stunning DIY putting green can elevate your golf practice to new heights and bring a touch of fun to your outdoor space. With the right planning, materials, and techniques, you can create a
versatile putting green that perfectly suits your skill level and aesthetic preferences. Imagine having a dedicated area right at home where you can refine your short game, impress your friends, or simply enjoy a relaxing day in the sun. In this article, we will provide you with essential tips and a step-by-step guide to help you design and install your personal putting green. Whether you're a beginner or an experienced golfer, our insights will ensure your project is both achievable and rewarding.
Get ready to transform your backyard into a golfer's paradise with a stunning DIY putting green that enhances your practice sessions and adds charm to your outdoor retreat!
Choosing the Perfect Location for Your DIY Putting Green
Creating a DIY putting green in your backyard can elevate your golf practice experience, but choosing the right location is crucial for maximizing its potential. According to the National Golf Foundation, nearly 20% of golfers report that they would play more often if they had better access to practice facilities at home. Hence, selecting a site that is both convenient and conducive to practice can significantly improve your game.
When scouting for the perfect spot, consider factors such as sunlight, drainage, and accessibility. A well-drained area that receives ample sunlight not only supports healthy grass growth but also allows for year-round use. Studies indicate that grass varieties like bentgrass thrive under these conditions, becoming resilient and ideal for putting surfaces. Additionally, placing your putting green within easy reach of your home or patio encourages more frequent practice. The more convenient your putting green is, the more likely you are to utilize it, reinforcing the habit necessary for improvement.
Essential Materials and Tools for Building a Backyard Putting Green
 Creating a DIY putting green in your backyard is an exciting project that enhances your golf practice right at home. To begin this transformation, gathering the essential materials and tools is crucial. First, you will need high-quality artificial turf designed specifically for putting greens, which mimics the feel and roll of real greens. Along with the turf, drainage materials such as gravel and landscape fabric are necessary to ensure proper water flow and prevent puddling.
In addition to turf and drainage materials, having the right tools will streamline the building process. A shovel, rake, and level are fundamental for preparing the area and ensuring a smooth surface. A utility knife will help you cut the turf to the desired size, while a staple gun or adhesive is used to secure it in place. Finally, investing in some edging materials will give your putting green a professional appearance and prevent the turf from shifting over time. With these essential materials and tools, you will be well on your way to creating a stunning putting green that elevates your golf game right in your backyard.
Step-by-Step Guide to Crafting Your Own Putting Green
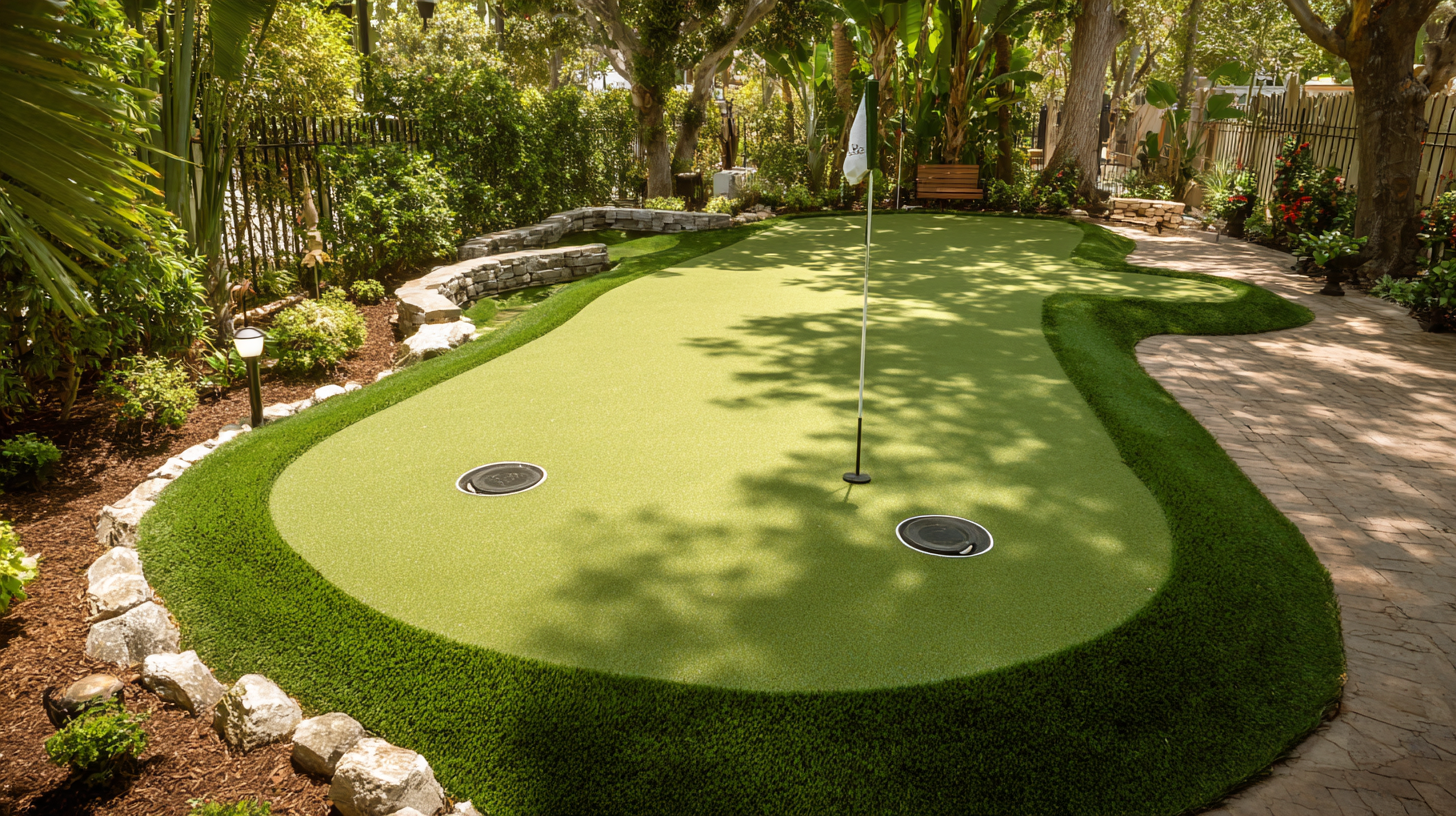
Creating your own DIY putting green can transform your backyard into a golfer's paradise, allowing for year-round practice and enjoyment. The process is straightforward and can be broken down into easy-to-follow steps. Start by selecting the ideal location that receives adequate sunlight and is flat to ensure a smooth surface. Next, measure the dimensions for your green, keeping in mind the space available and desired size for your practice area.
Once your area is defined, gather materials such as turf, sand, and a base layer to create a durable surface that mimics real grass. Lay down the material step-by-step, compacting the base and ensuring the turf is securely in place. Add holes for putting practice, and consider incorporating slopes and breaks for a realistic experience. With these guidelines, you'll not only enhance your backyard aesthetics but also elevate your golf game, turning your home into a fun and functional space for outdoor activities.
Golf Practice: The Benefits of a DIY Putting Green
Design Customization: Adding Unique Features to Your Putting Green
Creating a custom DIY putting green in your backyard can significantly enhance your golf practice experience. With recent advancements in materials like specialized synthetic grass, homeowners can tailor their greens to meet specific needs, ensuring a realistic and enjoyable putting experience. A report from the National Golf Foundation highlights a growing trend where home-based golf setups, including putting greens, have increased by over 30% in popularity since the pandemic, indicating a shift towards personalized golfing solutions.
One innovative option gaining traction is the incorporation of unique design features into home putting greens. For instance, golfers can customize their greens with varied slopes, sand traps, and even lighting for nighttime practice. Research shows that incorporating elements like undulations and varying speeds can improve putting skills significantly. Additionally, the integration of high-quality foam materials allows for a more realistic feel, simulating the conditions found on professional courses. These enhancements not only create a visually appealing space but also cater to golfers looking for an edge in their game.
Transform Your Backyard with a Stunning DIY Putting Green for Ultimate Golf Practice - Design Customization: Adding Unique Features to Your Putting Green
| Feature |
Description |
Customization Options |
Estimated Cost ($) |
| Green Surface |
High-quality synthetic turf for a realistic putting experience |
Color shade, texture variations |
800 - 1500 |
| Holes |
Multiple holes with different skill levels |
Diameter, location on the green |
100 - 300 |
| Bumpers |
Add bumpers to create obstacle challenges |
Material, height, color |
150 - 400 |
| Lighting |
Integrated lighting for evening practice |
Type of lighting, placement |
200 - 600 |
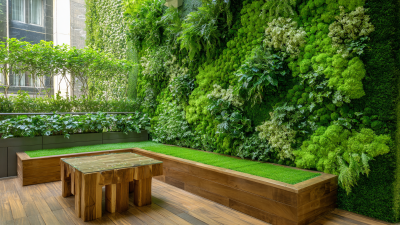
| Surrounding Features |
Landscaping and seating areas |
Planters, benches, water features |
300 - 1000 |
Maintenance Tips to Keep Your DIY Putting Green in Top Shape
Maintaining your DIY putting green is crucial to enjoying consistent practice and enhancing your golf game at home. After installing your putting green, regular upkeep will ensure it remains in top shape. Experts recommend weekly maintenance, which includes brushing the surface to remove debris and checking for wear and tear. According to recent studies, a well-maintained putting surface can improve your putting precision by up to 30%, making this investment in regular care worthwhile.
In addition to routine cleaning, it's essential to monitor moisture levels in your green. Improper watering can lead to uneven surfaces or algae growth, which disrupts your practice sessions. Using a moisture meter can help maintain optimal hydration levels, ensuring your green mimics the feel of a well-groomed course. Furthermore, applying a high-quality UV stabilizer can help protect against sun damage and fading, keeping your surface vibrant and functional. Regular maintenance not only prolongs the life of your putting green but also ensures that every putt mimics the conditions of a professional golf course, ultimately helping you sink more putts.